Create, Edit, and Delete Process Areas
Quick Demo · 0:13
00:13Create, Edit, and Delete a Process Area
Chapters
Searchable Transcript (3 steps)
- 00:01Select a plant, click Add Process Area, and enter the process area name.
- 00:04Use the row actions menu to rename or update the process area.
- 00:07To delete a process area, type its exact name to confirm removal.
What Is a Process Area?
A Process Area divides a plant into major functional departments—for example Raw Grinding, Kiln Line, Finish Milling, or Utilities. Defining process areas creates a clean intermediate layer between your Plant and its Production Units so supervisors can filter live values, trends, and alarms by operational department.
Step 1: Select a Plant & Open Process Areas
- Open Configuration -> Process Areas in the left navigation.
- Confirm the active Plant in the top toolbar filter (if you manage multiple plants, select the target facility first).
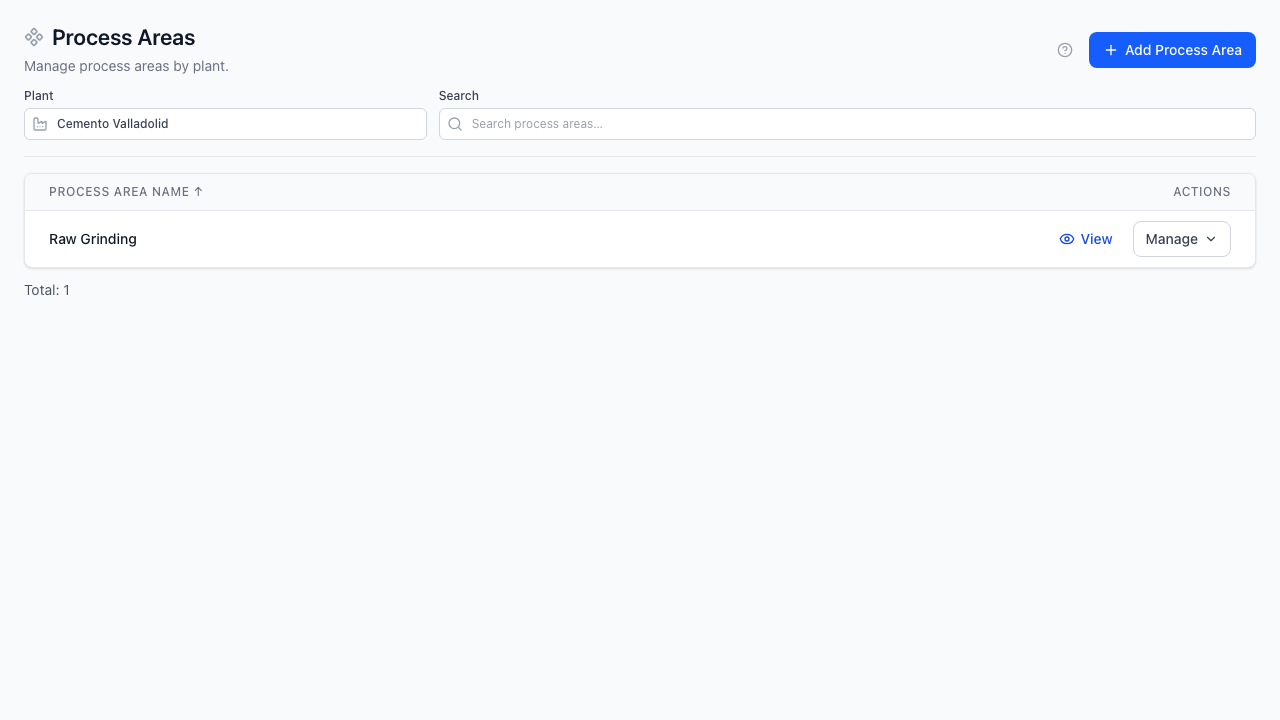
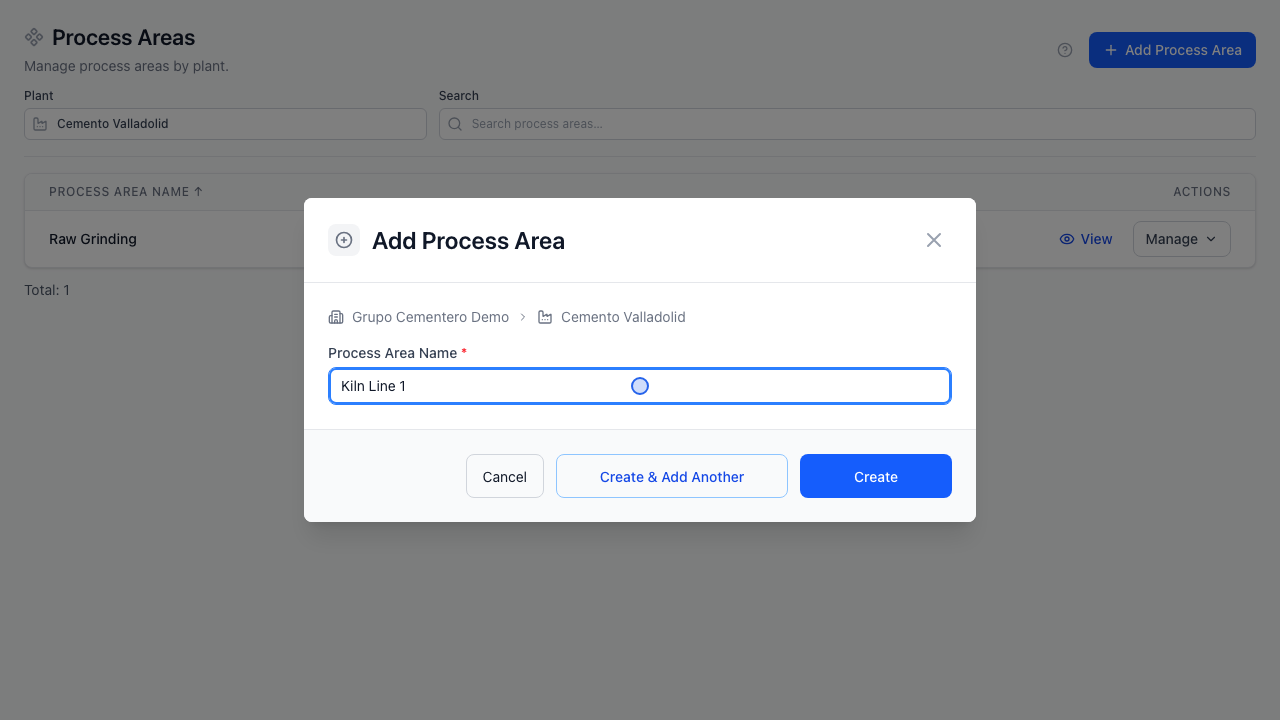
Step 2: Create a Process Area
- Click Add Process Area in the header.
- Enter the Process Area Name (required, e.g.,
Kiln Line 1) and an optional Description. - Save to add the area immediately to your plant hierarchy.
Step 3: Edit or Delete a Process Area
- Edit: Open the row action menu (
...) -> Edit to rename the process area or update its description. - Delete: Open the row action menu -> Delete. Type the exact process area name into the confirmation box to enable deletion.
Remove Child Production Units First
Deleting a process area impacts any child Production Units and downstream asset structure linked to it. Reassign or remove child units before permanently deleting an active area.